One of the food staples in our family is bread. We have them for breakfast with different spreads almost every morning. I’ve switched from buying bread to making them myself after I tried homemade bread several years ago. The taste and texture of homemade bread is so good and the ingredients more wholesome than store bought ones. There isn’t excessive sugar or any form of preservatives in homemade bread and I am convinced this is the healthier option for us.
I’ve tried a few bread recipes and I’m loving this one which yields soft bread rolls each time. Although breads made with tangzhong (water-roux) yields fluffier bread, sometimes I don’t have the time to take this additional step. Tangzhong, also known as water-roux, is a widely popular method used in making soft fluffy bread that lasts a bit longer than other breads. To make tangzhong, you will need to use one part bread flour to five parts water, mix the flour and water in a saucepan over low heat till you get a smooth paste. Once the mixtures reaches 65°C (149°F), remove from heat, transfer to a bowl, cover with cling wrap and allow it to cool completely before using. If you want to check out how to make tangzhong breads, you can check this post.
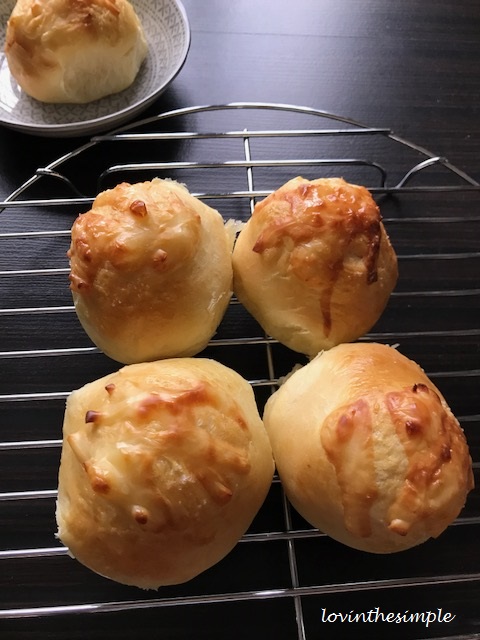
This recipe is my go-to if I don’t have time for tangzhong. There isn’t a lot of ingredients and the preparation is straightforward. The bread is soft and delicious and sometimes I add some fillings into the dough before baking.

Basic Bread Rolls
Ingredients (makes 8 rolls/buns):
- 220g bread flour
- 30g cake flour
- 2 tablespoons caster sugar
- 3/4 teaspoon salt
- 3/4 teaspoon instant yeast
- 100ml fresh milk
- 70ml cold water
- 20g butter
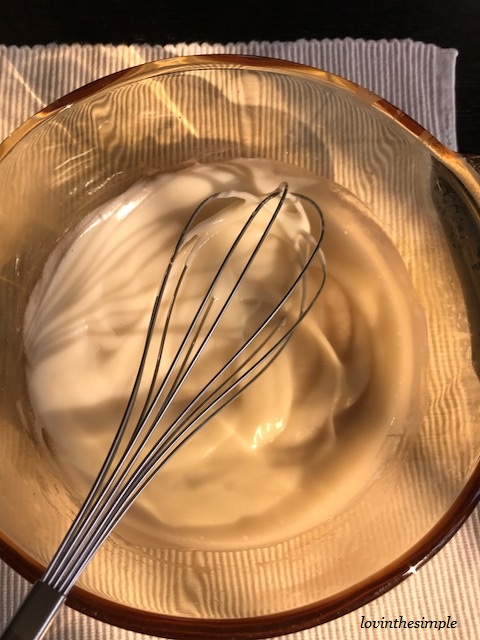
- a little beaten egg for egg wash
Directions:
- Put all ingredients except butter into the bowl of a stand mixer or bread pan of a bread machine. Knead the dough for 10 minutes.
- Add butter and continue kneading until the dough comes together (around 10 minutes).
- Transfer the dough into a slightly oiled bowl. Cover with damp towel or cling wrap and allow it to proof or double in size. This takes around one hour.
- After one hour, check if the dough has proofed properly by deeply depressing the dough with a clean finger. If the indentation in the dough stays then it is ready for the next step. Otherwise, let it proof for a while more.
- On a slightly floured work surface, knead the dough by hand for about five minutes to expel the gas in the dough, then cut the dough into 8 equal portions.
- Put the cut portions of dough on a baking sheet lined with parchment paper. Cover with damp towel or cling wrap and let it rest for 10 minutes.
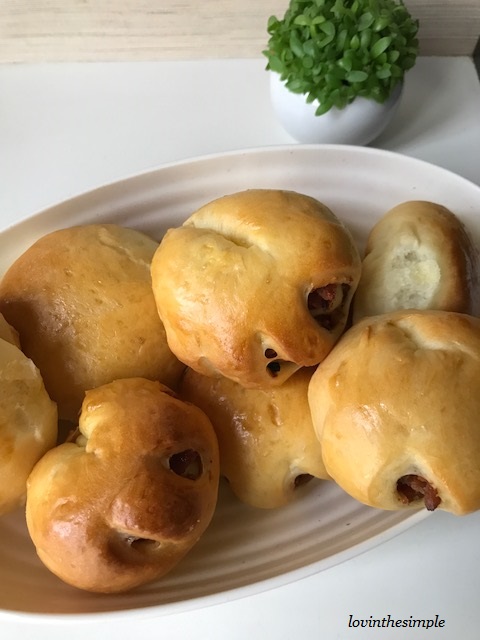
- After 10 minutes, on a floured work surface and a slightly floured rolling pin, roll the dough into your desired shape. Add fillings if any and seal the dough.
- Set the dough on the baking sheet, cover with damp towel or cling wrap and allow it to proof for another one hour.
- Pre-heat oven to 180°C.
- Brush egg wash over the dough and bake for 15 minutes.
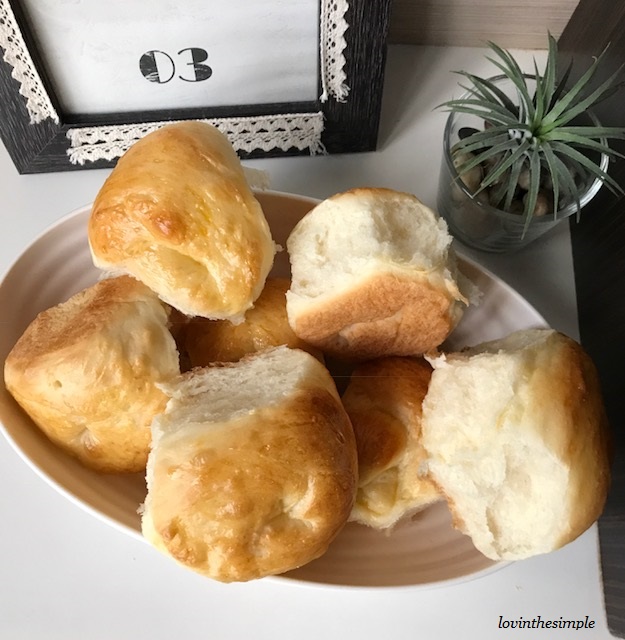
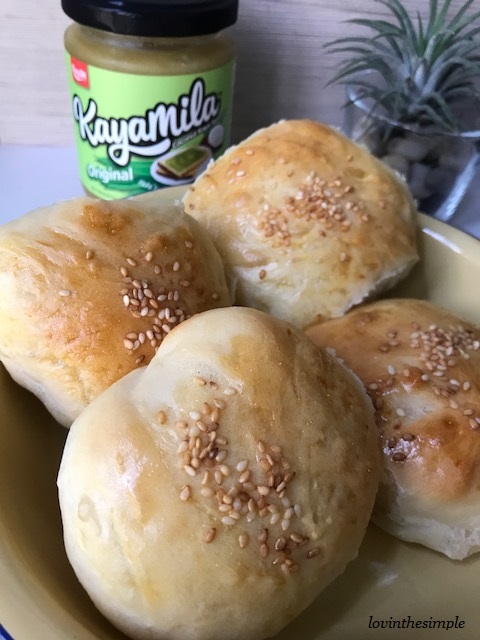
These are great with any spreads or they can be eaten plain with your favourite beverage. I slathered some peanut butter and paired it with coffee. If you like your bread slightly warm and toasty, just pop it in the oven for a few minutes and it’s as good as freshly baked again.
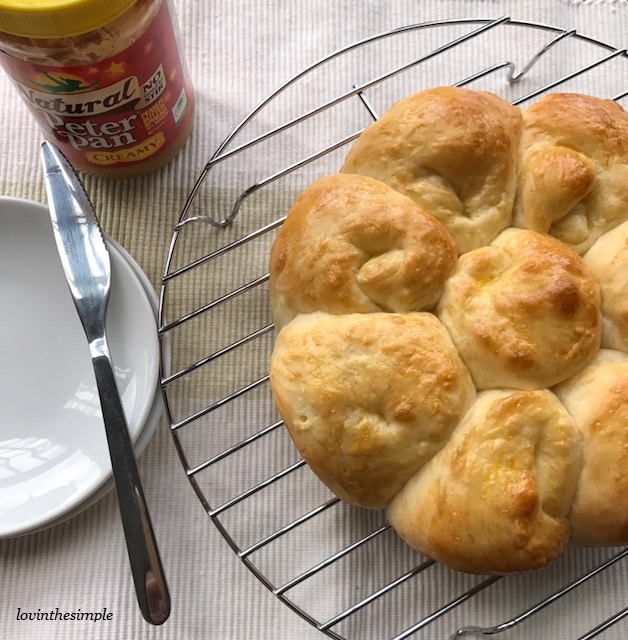


I made this twice last week . The second time, I sprinkled some sesame seeds on the top. It would be perfect if I had red bean paste to add as a filling.