
Our family has bread almost everyday, for breakfast and sometimes tea. We used to buy our bread from the supermarket and bakery until I started making them two years ago. I decided to buy a bread machine as I was really keen to make bread but I wasn’t very good and strong in kneading dough. It takes quite a bit of muscles to do the job well and I didn’t have the confidence in succeeding.
My bread machine has served up loaves of bread for us in this two years. In addition to the delicious and nutritious loaves we enjoy up till now, it has also helped me knead nice dough so I could experiment and make bread buns and bread rolls.
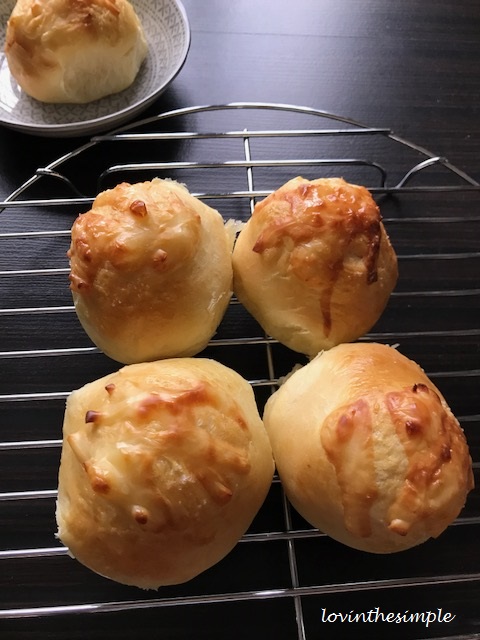
These are the cheese buns I made yesterday. I have found a good recipe for basic bread bun which I will share below. You can tweak your fillings and toppings. Have fun coming up with different buns!
Basic Bread Bun
(makes 8 buns)
recipe source: Cooking a Dream (with slight modifications)
Ingredients:
250g bread flour
3 tablespoons milk powder**
2 tablespoons caster sugar
3/4 teaspoon salt
1 egg, beaten
110ml cold water (** if you don’t have milk powder use 110ml fresh milk instead of cold water)
1 teaspoon instant yeast
40g unsalted butter
a little beaten egg for egg wash
Directions:
- Check the instructions of your bread machine and add the ingredients as per the machine’s instructions. For my machine I have to add dry ingredients first followed by wet ingredients (all except for butter which is to be added later). If you do not have a bread machine, you can use a mixer with a dough hook to knead the dough or you may also knead by hand.
- Select bread dough function to set the machine to knead the dough.
- Ten minutes into the kneading, add in the butter.
- Allow machine to continue kneading. After the kneading is completed, you can allow the dough to proof in the machine or you may take out the dough and place it in a well oiled bowl to proof it. I take mine out and proof it in a bowl covered with a plastic wrap or wet towel to prevent moisture loss.
- Allow dough to proof or double in size. This takes about 1 hour in a warm environment. Place the dough in a warm place in your house to proof.
- Once dough has proofed or doubled in size, do a window pane test to check if you are ready to proceed to the next step. Alternatively you can press the dough deeply with a finger. The depression should stay and your finger shouldn’t have any dough sticking on it.


- On a slightly floured surface, knead the dough by hand for 5 minutes to expel the gas in the dough.
- Cut the dough into equal sizes and roll them into balls. Place each dough ball on a baking tray lined with parchment paper. Cover the dough balls with plastic wrap or a wet towel to prevent moisture loss. Let them rest for 10 minutes.
- Take each dough ball, lightly knead to expel gas. With a slightly floured rollling pin, roll the dough into a circular disc and add your filling in the centre of the disc. Wrap the dough and pinch the bottom to seal the dough. Repeat till all are done. Cover the dough with plastic wrap or wet towel and let them rest for another 1 hour or till dough doubles in size.
For the cheese buns I made, I rolled the dough into balls and let them rest for 1 hour. At the end of the second proofing, I applied egg wash on each dough ball before adding shredded cheese on top of the egg wash. - Preheat oven to 180 degrees.
- Apply egg wash over the dough balls. This step is already done for the cheese buns I made.
- Bake for around 15 minutes or till lightly golden brown on the tops.
- Allow the bread to cool on a cooling rack.


Enjoy!


